How do you grill on a Weber kettle?
To grill on a Weber kettle, use a two zone setup with all lit coals on one side and empty space on the other. Cook food indirectly until it reaches the right temperature, then finish over direct heat for browning. Keep the top vent fully open and use the bottom vent to control temperature. Flip foods when they release easily and use a thermometer to check doneness.
The Weber kettle is one of the best all purpose grills ever made. With a simple two zone setup and basic vent control, you can grill steaks, burgers, chicken, pork, seafood, vegetables, and more. This guide teaches the essential skills every beginner needs to cook confidently on a kettle, including when to flip, where to place food, how to avoid flare ups, and how to know when your food is done.
If you can master what is in this post, you can grill almost anything.
The Foundation: The Two Zone Setup
The Two Zone Method is the backbone of grilling on a kettle.
- Direct Zone: over the lit coals, hot and fast
- Indirect Zone: empty side of grill, cooler and controlled
Coal Setup
- Lit Coals: full or three quarter chimney
- Unlit Coals: none
- Dump lit coals on one side only
- Leave the other side empty
Vent Settings
- Bottom vent: fully open
- Top vent: fully open
This gives clean heat, predictable searing, and easy temperature management.
Understanding the Vents
You control temperature with the bottom vent.
Bottom Vent Guidelines
- Fully open: 400 to 500 plus degrees (steaks, wings, burgers)
- Half open: 300 to 350 degrees (chicken, veggies)
- 10 to 25 percent open: 225 to 275 degrees (low slow cooks)
Top Vent
- Always fully open for clean airflow
Important
Vent changes take 5 to 10 minutes to show results.
Step by Step: How to Grill Anything
Below is the universal process that covers nearly all foods.
1. Light the Charcoal Correctly
For most grilling cooks
- Fill chimney three quarter to full
- Light and let coals ash over for 15 minutes
Why this matters
Fully lit coals produce clean heat and prevent dirty white smoke.
2. Preheat the Kettle
- Place the cooking grate on
- Close the lid for 10 minutes
- Aim for 350 to 450 degrees
A preheated grate prevents sticking and gives better grill marks.
3. Start Food on the Indirect Side
Beginners often place food directly over the fire immediately, which can burn the outside while leaving the inside raw.
Instead:
- Place food on the cool indirect zone
- Close the lid
- Let gentle heat cook evenly
- Use a thermometer when possible
This prevents flare ups and keeps food juicy.
4. Move to the Direct Side to Finish
Once the food is nearly done:
- Move it over the hot coals
- Sear 20 to 60 seconds per side
- Build browning and flavor
This creates gorgeous color without burning.
When to Flip Food
Beginners flip too early.
Use these cues instead:
Flip when:
- The food releases easily from the grate
- You see juices forming on top
- The bottom has clear browning
Do not flip when:
- The surface is still pale
- The food sticks to the grate
If it sticks, it is not ready to flip.
Avoiding Flare Ups
Flare ups happen when fat drips onto coals.
If a flare up appears:
- Move food instantly to indirect side
- Close lid for 5 to 10 seconds
- Let fire calm down
Do not:
- Spray water
- Leave the lid open
Allow flames to char the meat
Doneness Guide for Common Foods
Using a thermometer makes grilling nearly foolproof.
| Food | Internal Temp | Zone Guidance |
| Steaks (med-rare) | 130 to 135 | start indirect, finish direct |
| Chicken thighs | 175 to 185 | indirect roast then crisp |
| Chicken breast | 160 to 165 | mostly indirect |
| Pork chops | 140 to 145 | indirect then sear |
| Burgers | 150 to 160 | mostly direct, finish indirect |
| Sausage | 155 (pre smoked), 165 (raw) | indirect then crisp |
| Salmon | 125 to 130 | indirect with optional direct finish |
| Veggies | visual cues | mostly direct, finish indirect |
Visual Cues for Doneness
Steaks
- Brown crust, soft center
- Slight springiness when pressed
Chicken Thighs
- Skin golden and tight
- Meat pulls from bone
Pork Chops
- Golden brown crust
- Slight firmness with bounce
Burgers
- Juices bead on top
- Firm but not stiff
Vegetables
- Light char, softened texture
- Peppers blister
- Onions caramelize
Where to Place Foods on the Kettle
Use indirect for:
- chicken
- pork chops
- veggies
- sausages
- thicker cuts
Use direct for:
- steaks
- burgers
- wings (Vortex helps)
- skewers
- thin cuts
Move between zones as needed.
Handling Different Foods (Quick Guide)
Steaks (1 to 2 inches thick)
- Indirect to 110 to 120
- Direct sear to finish
- Full chimney
Burgers
- Direct then indirect if flare ups occur
- Flip once crust forms
- Full chimney
Chicken Thighs
- Indirect at 325 to 375
- Crisp skin at end
- Half chimney
Pork Chops
- Indirect to 120 to 125
- Sear briefly over direct
- Half chimney
Vegetables
- Direct for marks
- Finish indirect
- Half chimney
Common Beginner Mistakes
🚫 Opening the lid too often
Loses 10 to 15 degrees every time.
🚫 Cooking everything directly over the fire
Leads to burning.
🚫 Overcorrecting vents
Make small adjustments.
🚫 Adding too many lit coals
Heat becomes hard to control.
🚫 Ignoring carryover cooking
Meat continues rising in temp after leaving grill.
Sample Vent Settings While Grilling
Medium Heat (chicken, veggies, chops)
- Bottom vent: half open
- Top vent: fully open
High Heat (steaks, wings, burgers)
- Bottom vent: fully open
- Top vent: fully open
If heat runs too hot
- Close bottom vent slightly
- Move food indirect
- Wait 5 to 10 minutes for temp change
FAQ
Do I need a thermometer?
Yes. It is the most important grilling tool you can own.
Should the top vent ever be closed?
No. Leave it fully open for clean smoke and consistent airflow.
Does charcoal type matter?
Yes.
Use briquettes for stable long cooks and lump for fast high heat.
How long do coals last?
A full chimney lasts 45 to 75 minutes depending on grill conditions.
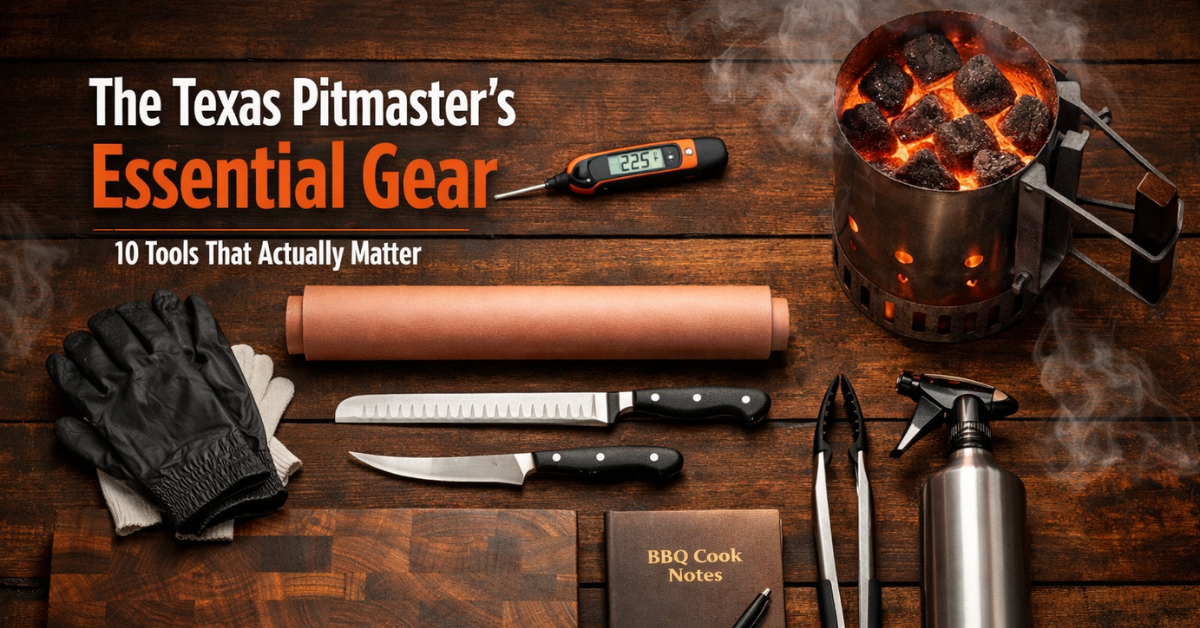
Helpful Gear for your Cook
- Chimney starter
- Instant read thermometer
- Probe thermometer
- Weber charcoal baskets
- Vortex insert
- Slow ‘N Sear
- Premium briquettes or lump charcoal
Internal Link Suggestions
- Kettle Mastery Series: The Complete Guide to Charcoal Setup on a Weber Kettle
- Ultimate Guide to Temperature Control on a Weber Kettle
- Chicken Thighs Recipe
- Reverse Seared Ribeye Recipe